
|
|
|
page 1 | 2 People have been making molds out of silicone for a long time. It is strong and flexible. |
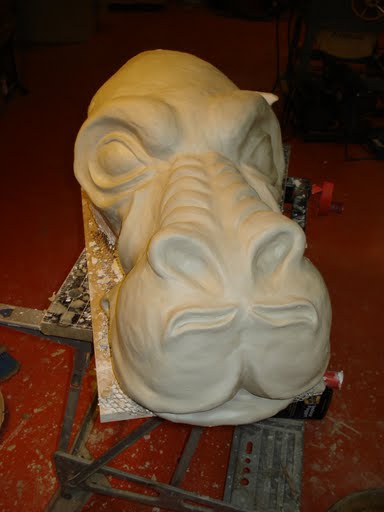
The clay sculpture. |
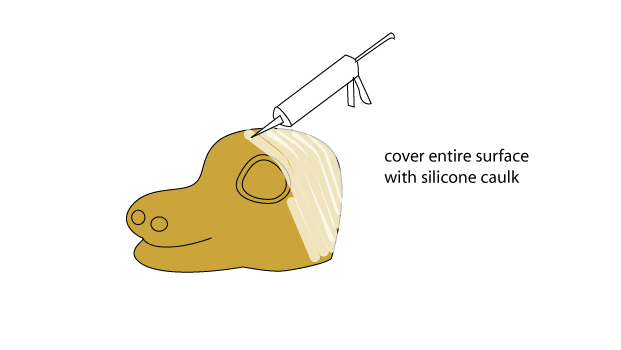
Instead of going to a hobby store, he went to the hardware store, and bought a box and a half of silicone caulk. |
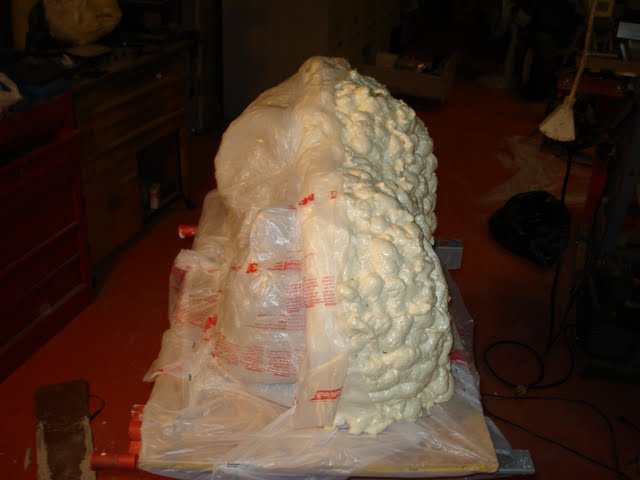
After a small-scale test, he tried the real thing, covering every inch of his model with a quarter-inch of clear silicone caulk. |
Two hours tack-dry, 24 hours to cure. |
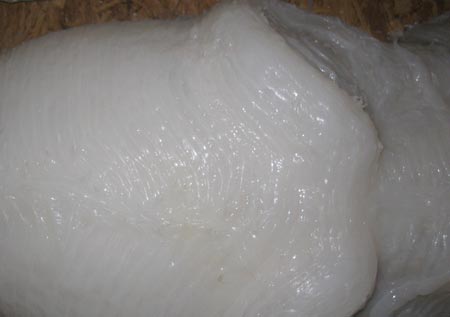
So Scott kept the silicone shell on top of his clay sculpture and covered the outside with plastic film.
please continue reading page 2. |
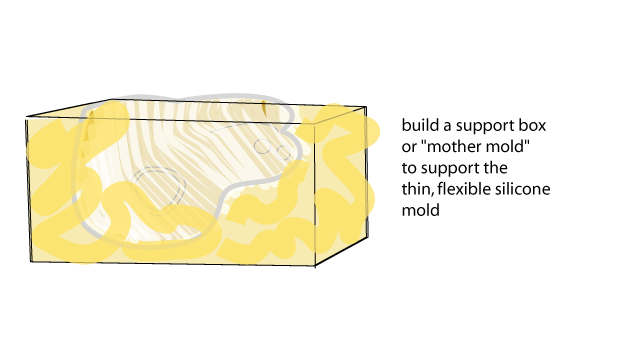
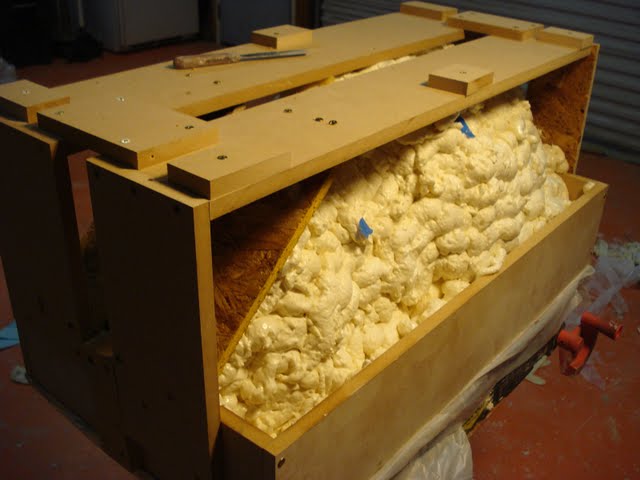
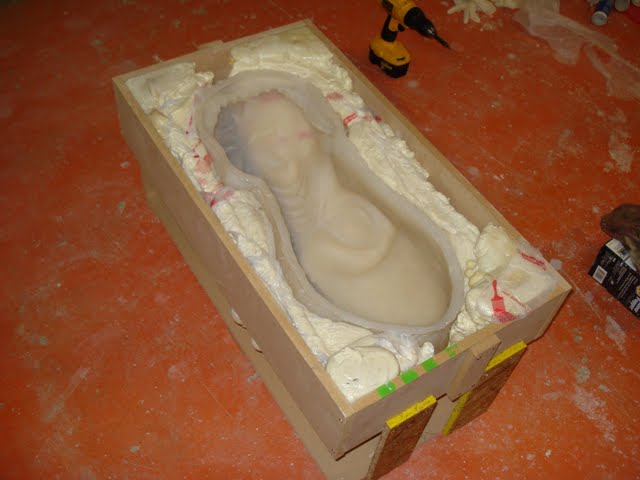
Then he added a layer of expanding foam and turned it upside-down into a medium wooden crate. This would be the "mother mold". He added wooden supports inside and added can foam so that the silicone mold wouldn't distort or collapse as it was filled. |
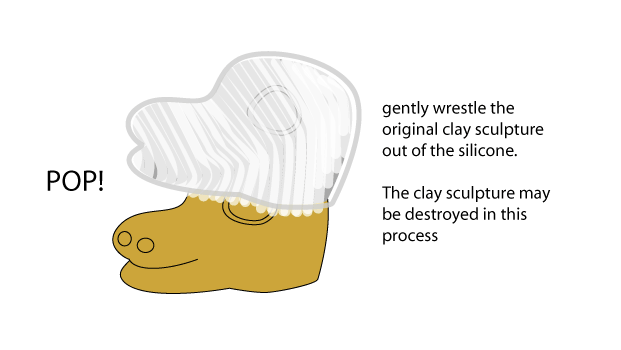
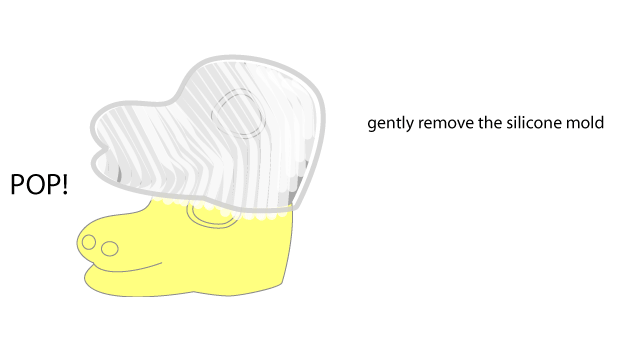
With the mother mold dry and ready, Scott finally removed his original clay model from the silicone. Contrary to this illustration, he lifted the silicone off the back of the head first, to keep from messing up the details on the face. |
Note that his sculpture has very limited undercutting, so he wouldn't have to cut the mold to remove it. |
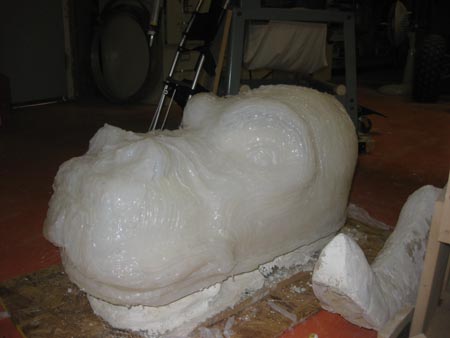
Then he placed it into the mother mold box and applied a mold-release agent. |
Next he mixed and poured in some two-part expanding foam. For big projects like this, it is cheaper to buy two-part liquid kits instead of using a bunch of household "Good Stuff" insulating foam cans. |
In about an hour, the foam is rock solid and ready to be removed from the silicone mold. |
The new foam head looked great, and the mold is ready for re-use. But wow, what a result! |
Other Easy, Illustrated How-to Instructions from Cockeyed.com | Scott's Tauntaun Costume | More on the Zone Ball costume contest | Q&A with Scott on the tauntaun costume
Box of See's Candy Costume | Dwight Shrute Bobblehead Costume | American Idol Judges Costume | Sudoku Costume |
Fandango Paper Bag Hand puppet Costume | Doctor Octopus |
Banana Skin Coat | Jenga Costume | California Costume | Silver Wings Costume | Paparazzi Costume | Fish Alien Costume | Cockroach Costume | Africa Costume
contact Rob | science club | pranks |
How much is inside? |
Home |
Incredible Stuff I Made | Torn-up
Credit Card Application
November 15th, 2009