
|
|
|
|
A hole in your wall can seem like a big deal, but they are really easy to fix. You've just got to cut away the broken parts, screw in some support and drop a new piece of drywall into the hole. Color matching the paint used to be trouble, but with today's color-matching paint counters, that is easy too.
Your walls are probably made of drywall, which is chalky gypsum board sandwiched between sheets of thick paper. Drywall is pretty easy to work with, and because everyone uses it to build houses, everything about drywall is cheap. |
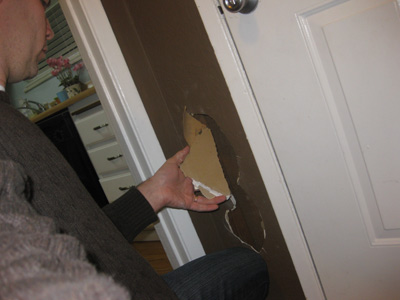
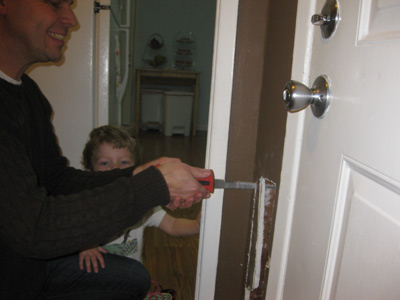
If the hole is just a little hole or long crack, I recommend filling it with spackle as shown in the following article: If there are loose chunks of wall hanging loose or pushed in, pull them out and throw them away. (If you need to buy new paint for this patch when it is finished, keep one of these broken chunks for the color-match computer to scan.) |
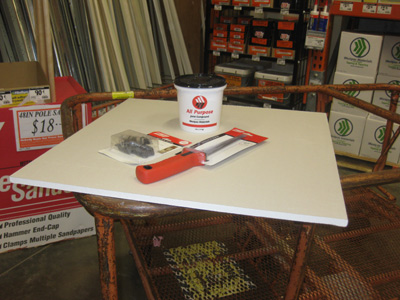
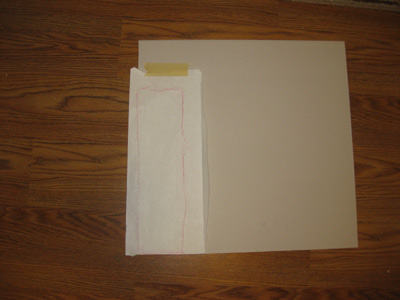
Next, make a trip to the hardware store and buy a square of drywall and a tub of wall paste known as "joint compound". Drywall is sold in big sheets, like 10 feet tall and four feet wide, but most hardware stores have smaller squares you can buy for about $4. I think this one from Home Depot was about 24" x 24".
|
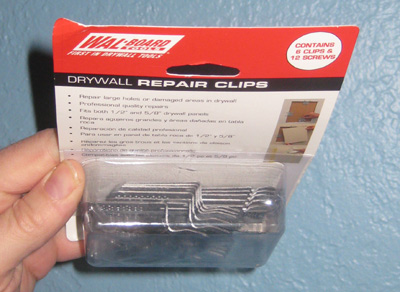
I think the tub of joint compound was $5. I also bought a drywall saw for $8 and a set of "drywall repair clips" for $4. You might also need a few long screws and a spackling knife, and whatever it takes to paint over the repair job. I didn't use the repair clips and I had to go back for a $3 stick of lumber. More on that later. |
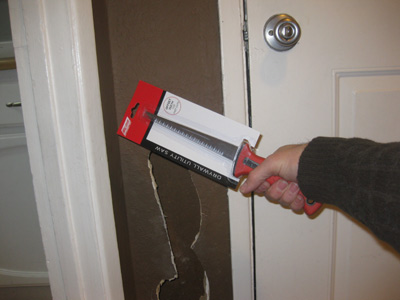
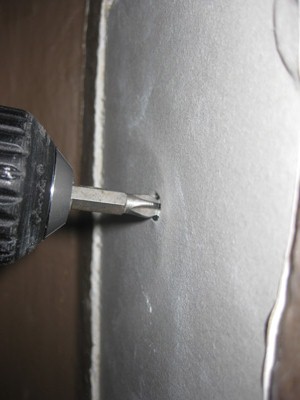
Its a little weird to cut away a bigger hole in a spot you are trying to repair, but that is what you should do. Be careful with the drywall saw, especially a new one. They are super-serrated. |
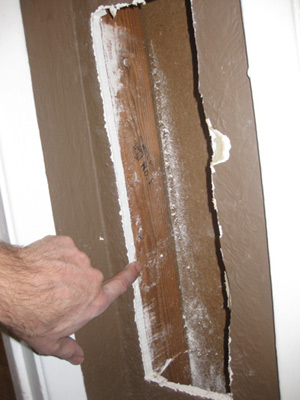
Cut the hole into a square or rectangular shape. This will make it easier to cut a patch to fit snugly in this hole. The sides don't have to be perfect. The wall in these photos doesn't have any fiberglass insulation. Your walls might have some fiberglass batting in there. If they do, wear gloves, leave it in there and push it aside as you work. |
The drywall on your walls is held up by wooden beams known as "studs". Usually wall damage will be restricted to an area between two studs, but if it does span two gaps, don't chew up or cut into the stud when you pull the broken drywall off. |
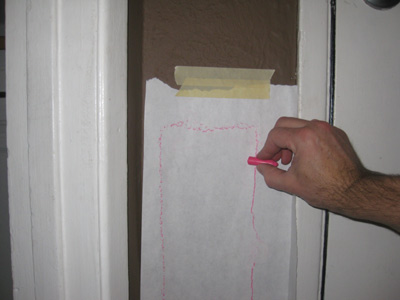
Next, cut a patch. One way to get a patch that will fit into your hole is to tape up a sheet of paper and rub a crayon around the edge of the hole. |
|
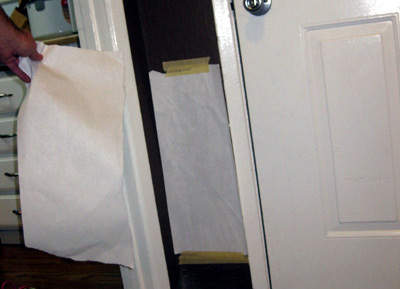
Take the paper pattern off of the wall and tape it onto your patch material. |
Use a razor blade or box cutter to slice along the crayon markings, which should outline the exact size of the patch. You can use the saw too, but that tends to create a big mess. |
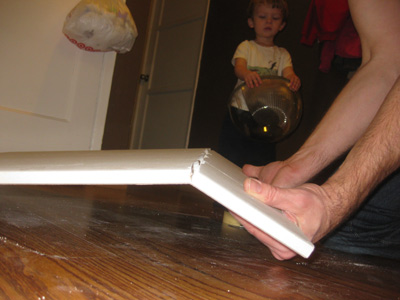
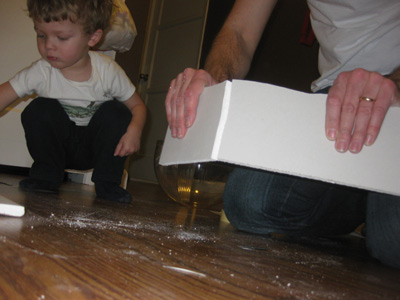
Once you've cut most of the way through the drywall, (assuming the cut is along a straight line, you can just snap it along the cut. |
Snapping the top piece. |
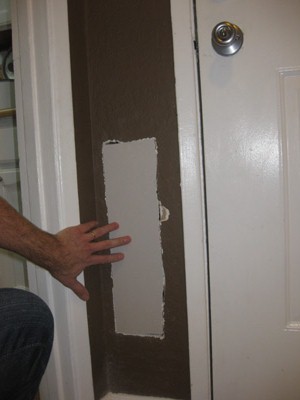
On the first attempt, the patch might not fit into the hole. |
You may have to trim a little off of the sides to get your piece to fit. Once you have a replacement rectangle of drywall cut, build some support to keep it securely in place. Clips wouldn't do a good job supporting this narrow strip of patch, so I opted to use a 1"x3" stick of lumber for support. |
You might find yourself back to Home Depot, cutting a two foot length of pine 1x3. |
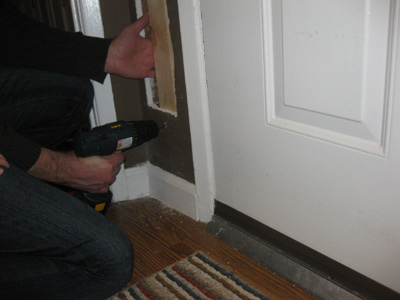
Get a stick a bit longer than the patch, so that you can secure it to the wall above and below the opening of the hole. |
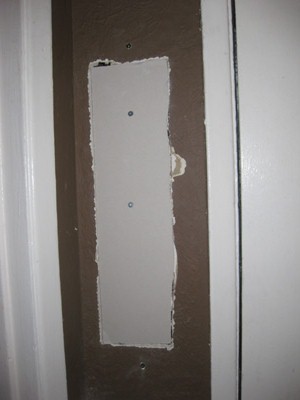
Set the support stick inside the hole and screw it into place through the existing wallboard. Add a screw above the hole. Now you have something to support the patch. |
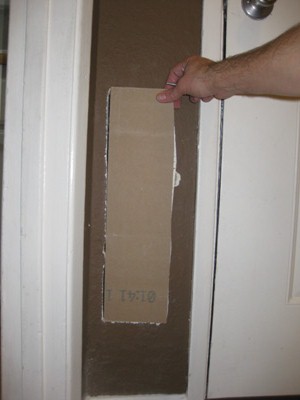
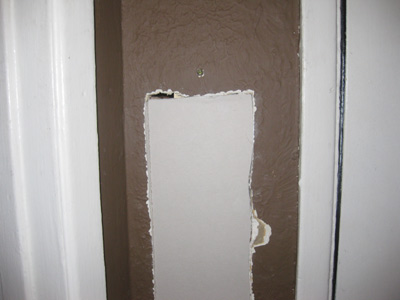
Fit the patch into the hole and screw it into place. Sometimes people use an adhesive, such as "liquid nails" to glue a patch like this to the wooden support. |
Drywall screws are really good for this application. They are really sharp, and the heads have an acute taper. But really, any screws will probably work if they are long enough. |
Twist the screws in slightly past the surface of the drywall. This will make them easier to cover up. |
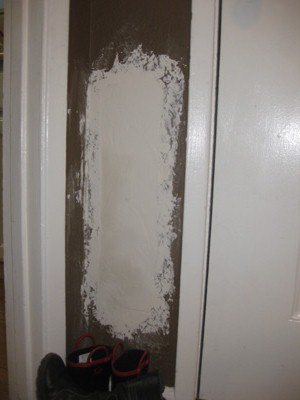
Two screws seemed like enough to secure this small patch to the lumber in back. With the patch secured in place, it is time to smear on some joint compound and add paint. |
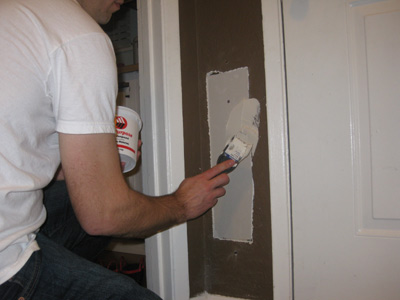
Study the texture of the rest of the wall. You'll have to try to match it with the frosting-like drywall joint compound. The wall above the patch had a rough texture on it. I intended to replicate the look of this, so that my patch will blend (visually) into the rest of the wall.
|
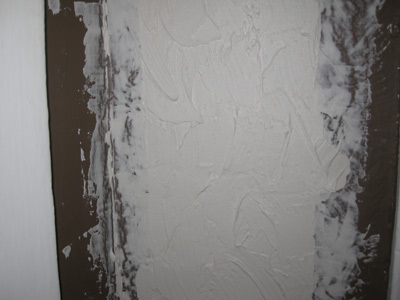
Joint Compound! I used a disposable putty knife to spread it. |
Joint compound is really easy to use and pretty forgiving. If you are trying to match this patch to a perfectly flat wall, you might need to do some sanding, otherwise, just spread it on, filling the gaps around the outline. |
There is no need to smooth it out. You need a rough surface to match the rest of the wall. |
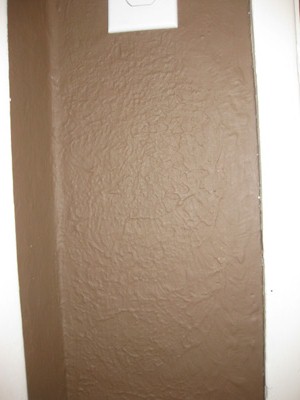
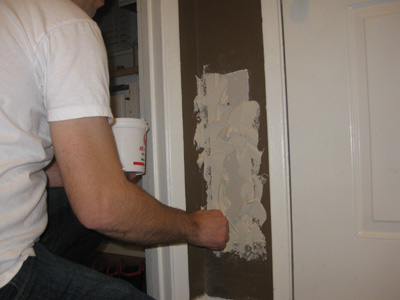
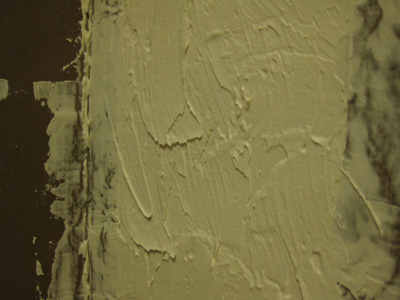
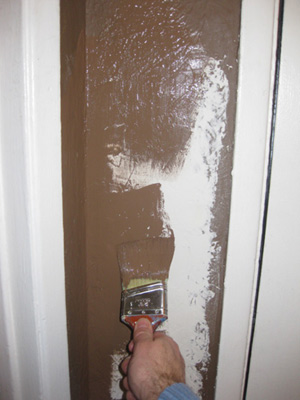
With the entire patch covered with joint compound, begin improving the finished appearance. Take some time and finesse the surface texture to match the existing wall.
|
If the texture of the patch doesn't match the texture of the rest of the wall, it will stand out as plain as it would if you painted it the wrong color. |
This type of texture requires short, curved strokes with the putty knife. |
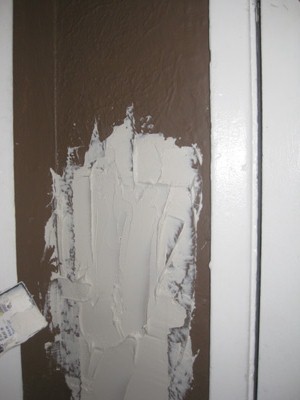
Imperfections in your texture-matching will be most apparent in areas which are brightly lit. |
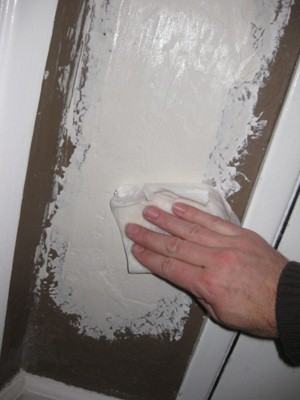
If the texture looks a little too sharp, gently glide over the sharp points with a pad of wet paper towels. |
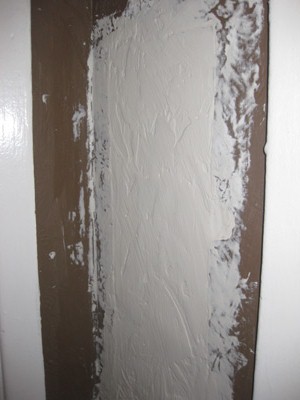
Let the joint compound dry. This will take 4-6 hours. |
The seam between the patch and the wall may still be visible due to the compound shrinking as it dries. |
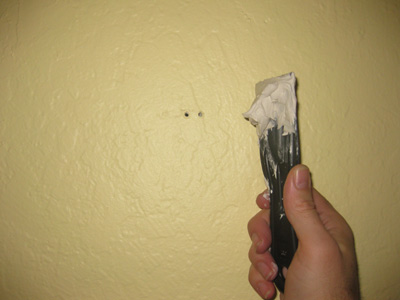
Use a putty knife, loaded with a spoonful of joint compound or spackle, to fill holes in the wall. If the holes are larger than these nail holes, please read "How to repair a hole in your wall." |
Push spackle or joint compound into the holes by pushing on the the putty knife and dragging it down against the wall. |
scrape the wall with the putty knife, removing any extra spackle. Paint! Unless you have super-smooth finished walls, the choppy texture of the spackle will disappear into the rest of the wall. |
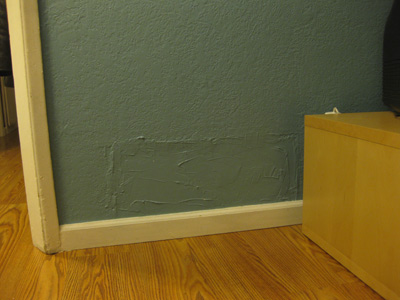
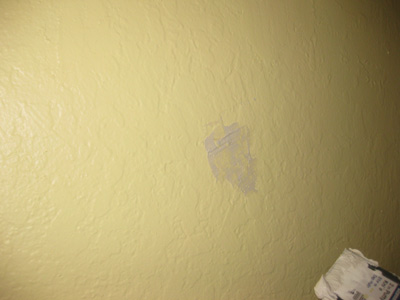
Add more joint compound to the seam areas which are still discernable. |
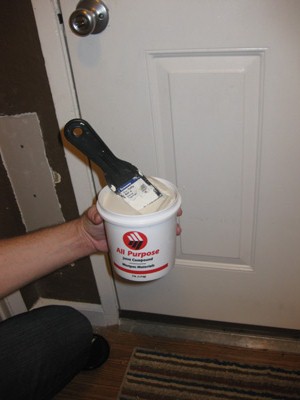
It can actually be really hard to tell if the patch is going to be obvious until you paint it. Once the joint compound is dry, paint it with the same color paint as the wall. Ideally you'll have some of this in your garage, otherwise buy a small amount of color-matched paint and brush it on. |
Voila! You are finished! Beautiful work. If the texture doesn't match satisfactorily, add joint compound or spackle on top of the painted surface or sand it down smoother and re-paint.
|
Please continue reading page 2.
page 1 2 3 4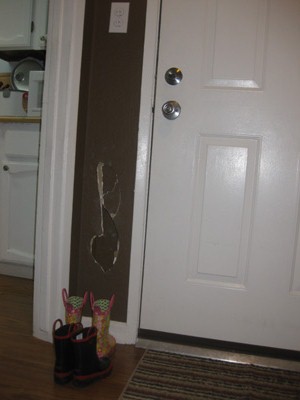 page
page