
|
|
|
Painting a room is one of the easiest things you can do to enhance your surroundings. Its mostly fun, fairly inexpensive, and can be a very satisfying accomplishment if done well. It's a Long Job
|
Choosing a Color Buy some 12-ounce test paints if you aren't sure how a particular color is going to look on the walls back at your house. These cost $3.50, which is a lot for 12 ounces, but worth it if you end up not liking the color. Glossiness
|
|
Don't clean the walls
|
Move Furniture Its possible to paint around one or two big pieces of furniture, but it will really slow you down, especially if it is going to impede your constant trips to the roller pan. If something appropriate is available, keep one waist-high piece of furniture in the room to use as a work table. Cover it with plastic film or a tarp. You need something in there, or you'll end up putting all of your tools on the ground, which is not a good way to work. |
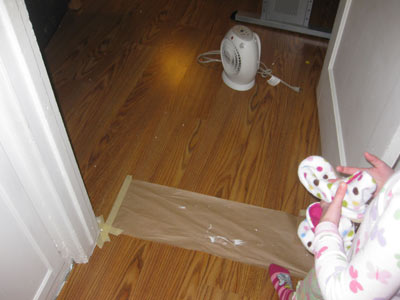
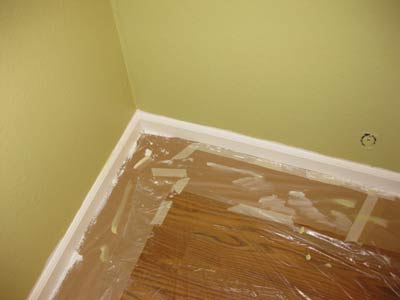
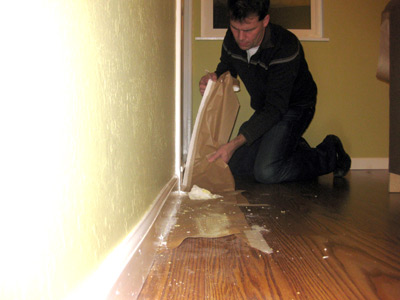
Protect the floor and windows I usually use an 8" wide strip of paper along the walls, and plastic film to cover the rest of the floor. I also use paper under the door, because I always get a little sloppy when I'm painting big trim elements. |
More preparations
|
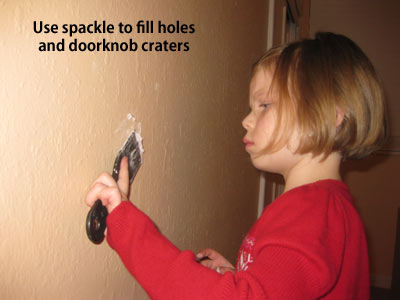
Fix Holes |
Use spackle to fill nail holes, doorknob impact craters, old curtain hardware holes, bullet holes, etc. I find spackling to be very easy, probably the most fun part of preparation. |
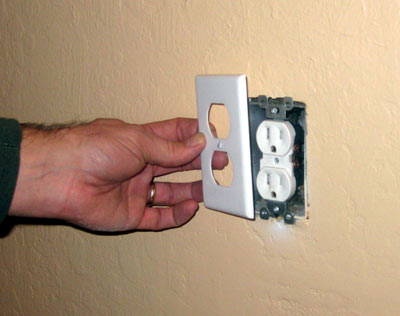
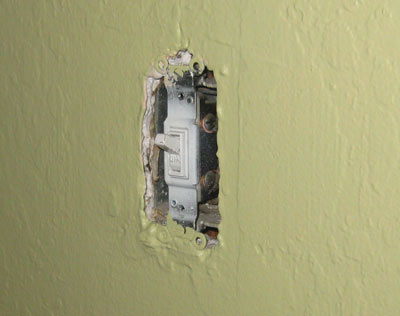
Remove plastic plates over electrical outlets and switches. This is very easy and safe. I usually put masking tape over the switch within to prevent it from catching any drips or errors. |
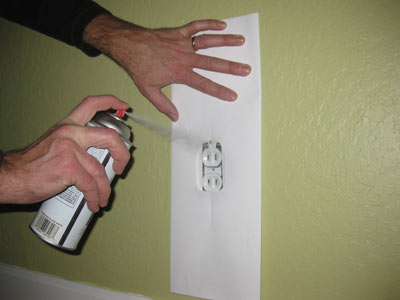
If a switch or outlet looks worn or ugly, switch off the power and wire in a new one. These little fixtures are very cheap, priced between 50 cents and $3, and can greatly improve the look of a room. If you are afraid or not skilled enough to re-wire a new outlet, consider freshening them up with spray paint and a paper mask. |
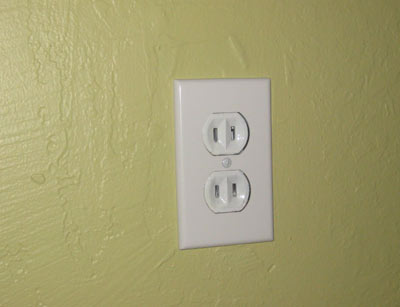
The completed outlets look great. Buy new plate covers if yours clash, are cracked, worn or ugly. New ones are about 50 cents each. |
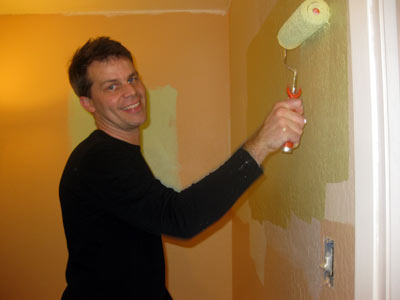
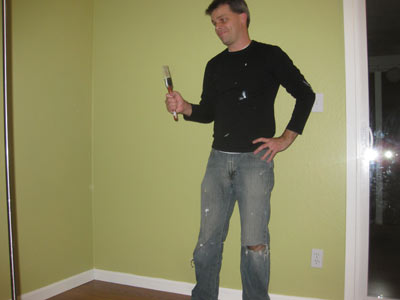
Dress appropriately Oh My God. You Might Be Ready to Paint. "Power" Rollers which force paint onto the roller work fine. Some use muscle-power and some have electric pumps. Both kinds work pretty well, especially for bigger jobs. Keep in mind that painting the big flat areas of walls is the easiest part of painting, so they can only help so much. |
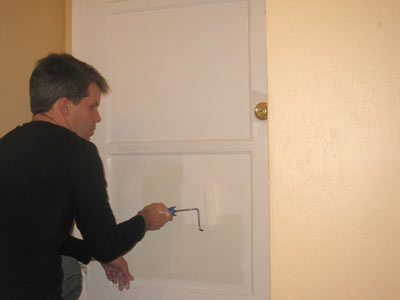
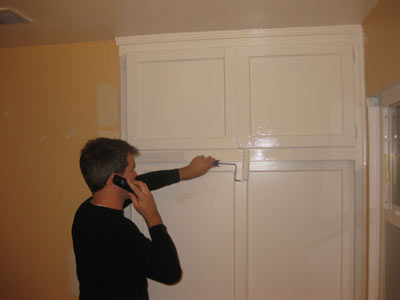
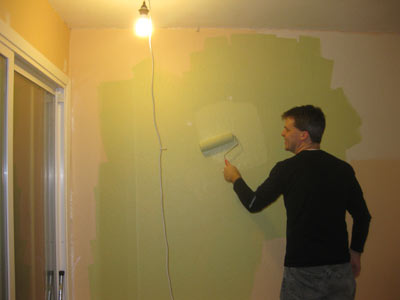
Its fun to paint the walls. It is not fun to paint the ceiling. When you start, imbued with enthusiasm and energy, paint the ceiling. Then paint the trim. When you are tired, and a little sick of painting, you will have saved the most fun part for last - painting the walls themselves. I decided this big closet door is "trim". |
Although the trim (including doors and cabinets) will have a much smaller surface area and require a smaller quantity of paint, the trim takes time because the surface is complicated and there are more obstacles to avoid.
|
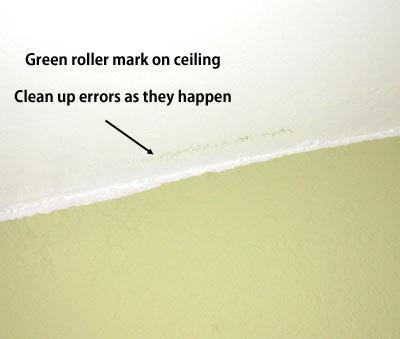
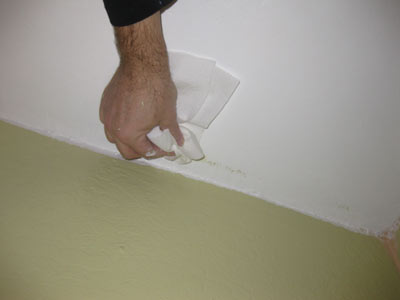
Clean up as you go |
|
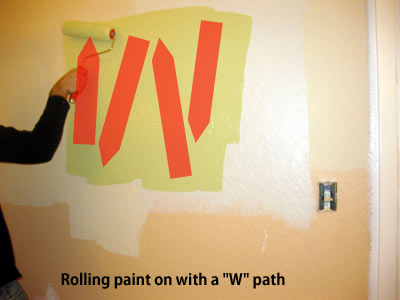
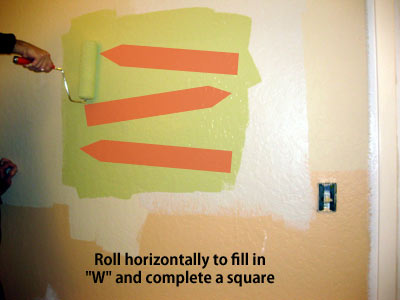
Paint thoroughly |
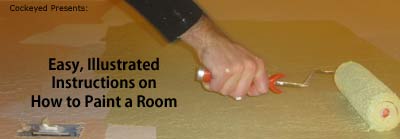
Fill in the "W" with horizontal rolls. |
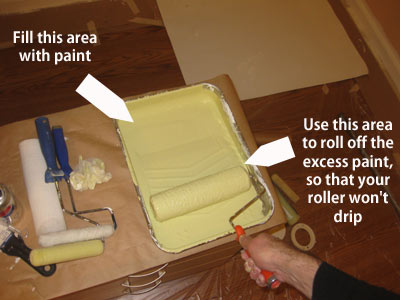
Beginning painters will quickly develop a sense of when the roller needs more paint. I haven't been counting, but I'd guess that a full roller is good for about 20 strokes before it needs a paint refill. It'll keep painting, but it does a progressively worse job after the first dozen strokes. Your hands will get tired. |
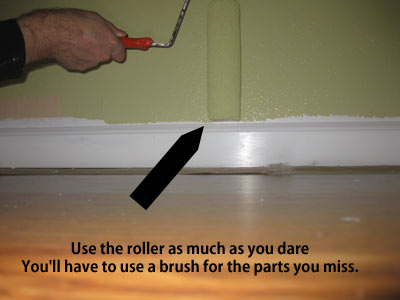
Rough it out, then cut it in. When you get to edges, roll as close as you can without getting paint over the edge. Fresh rollers apply a lot of paint, and if you work quickly, you can come back with a brush and distribute this edge supply with a brush.
|
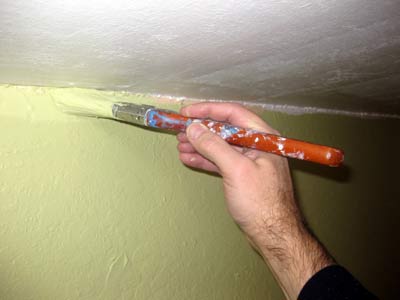
After the roller, come back with a brush and fill in the rest of the paint up to the trim. This takes some practice. |
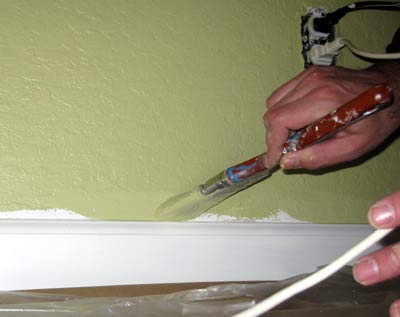
"Cutting in". Filling in the gap of unpainted wall between the rolled part and the ceiling. |
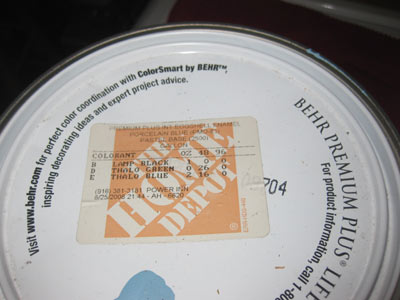
More Painting Tips During the course of painting a room, you are going to run out of a few things and will need to make a run back to the store. You actually might need to make 5 trips, so try to hold off until you have more than one thing before you actually go. If you need to order more paint, bring the paint can lid, or take a snapshot of the lid label to show the paint counter guy or girl. |
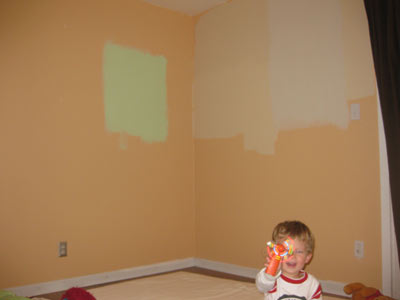
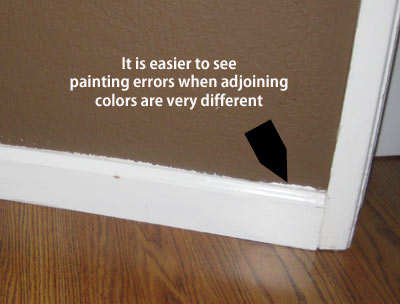
It is easier to see painting errors when adjoining colors contrast sharply. The closer the wall and the trim color, the better your errors will be hidden. Applying this chocolate brown next to white trim in our hallway took a lot of time, and is obviously still flawed. |
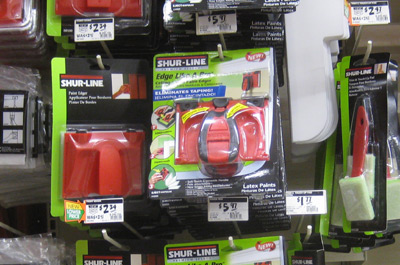
I don't recommend using any kind of rolling edge-painting tool. Maybe someone can get these to work, but not me. Just use a brush for details like that. |
When you are done painting everything, spend a few minutes looking back over your work. Don't quit immediately. You will probably find 30 little trouble spots which need a little help. |
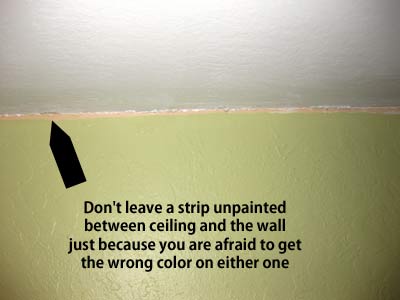
This probably sounds crazy, but it's something that happens: Don't leave a strip unpainted between the ceiling and the wall just because you are afraid to get the wrong color on either one. It's more important to have the two paint colors meet along a straight border than it is to have them meet exactly at the corner where the ceiling and wall meet. It's a little better to have wall paint on the ceiling than it is to have ceiling paint on the wall. |
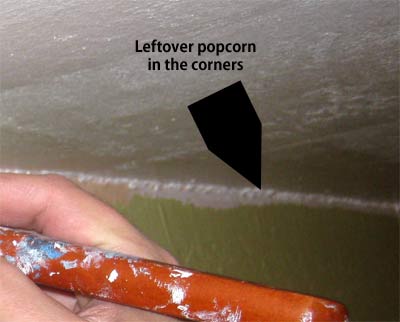
In the case where there is a little pebble-line of leftover popcorn ceiling texture in the crease, I recommend painting the wall color over the popcorn and onto the ceiling a tiny bit, creating a straight line between the colors. |
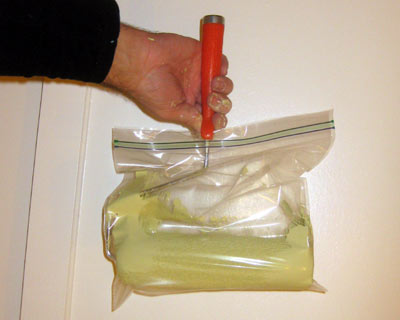
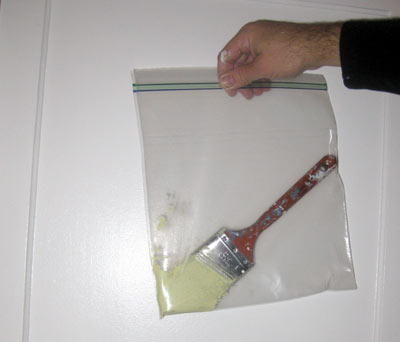
Washing out rollers and brushes is time consuming. One short-cut, if you will need a particular color the next day, is to wrap the roller in a plastic ziplock bag and to throw it in the freezer. |
The frozen paint will not gum up brushes and rollers. You just have to give them 10-15 minutes to defrost before you use them the next day. |
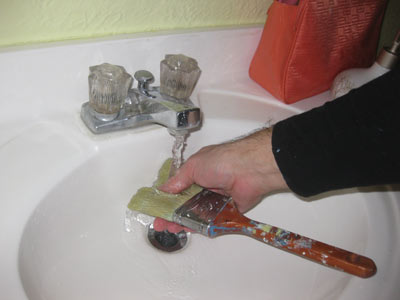
When you are actually done with a color, and it is time to clean the brushes, clean them out very well. It takes a long time to get all the paint out, but if you do a half-hearted job, or even a 90%-hearted job, the remaining paint will lock the bristles together and you'll have a brick on a stick. Don't clean them outside with a hose in the gutter. Gutter water isn't processed before it flows to rivers and lakes, so make sure your paint water goes into a sink or toilet. You can do it outside in a big bucket, but dump the bucket into your toilet. I know, it seems backwards, but that's the right thing to do. For the roller covers, it takes even longer to clean them out. They hold a lot of paint. If you really hate cleaning them, and don't mind chucking $3, you can just throw them out. I'm a pretty cheap person, but cleaning these things after a long night of painting can be a losing proposition. |
Without a doubt, the best part of painting is pulling up the masking tape and seeing the finished look of the newly painted room. It won't be perfect. Clean up any spots where the paint crept under the tape. |
Replace the electrical cover plates, put the drapes back up and move in the furniture. Bask in your achievement! |
Please continue reading page 2.
page 1 2 3 4