
|
|
|
Part 1 | 2 - 50 Fence Ideas - How Fences Break - How to Fix a Gate |
||||||||||||||||||
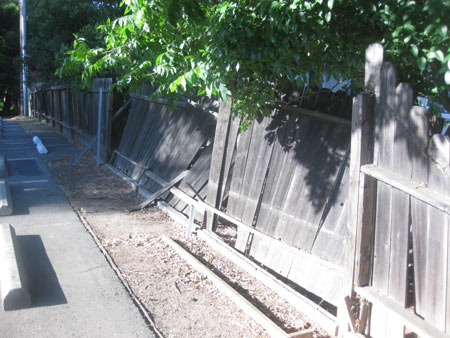
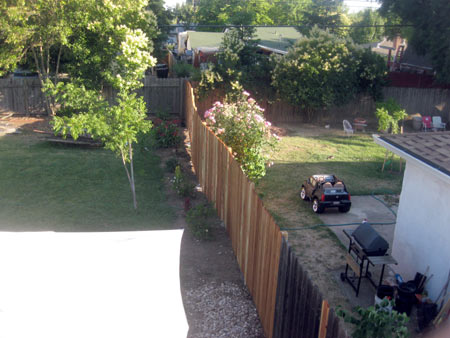
Introduction Fence building and mending is an easy do-it yourself project which can take between 2-5 days. The toughest parts, which aren't really tough, just vexing for the unexperienced, are: 1) You have a big opening in your fence and people can see inside.
|
||||||||||||||||||
Figure out what you want to do then talk to the neighbor. If you are lucky, they will offer to pay for half of the materials and may offer to help do the building or hauling. If you are a vampire, or socially awkward, you may be tempted to resist talking to the neighbor and just fix it yourself, paying for everything. Don't do it. Fence mending is a great opportunity to work with your neighbor. There are plenty of fence-repair businesses. They are busiest right after a windstorm or tornado, so their prices might go up during the winter. Repair or rebuild? Probably repair. |
||||||||||||||||||
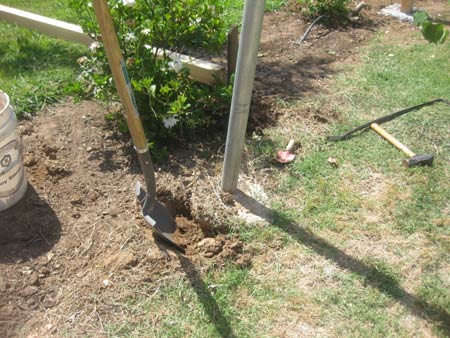
Sometimes the old post holes can be re-used. For example, you might have nice square holes into buried cement chunks, filled up with dirt and deteriorated wood fragments. These are holes are reuseable, but you don't have to use them. Maybe they failed for a good reason, such as poor water drainage or from being too loose or shallow.
|
||||||||||||||||||
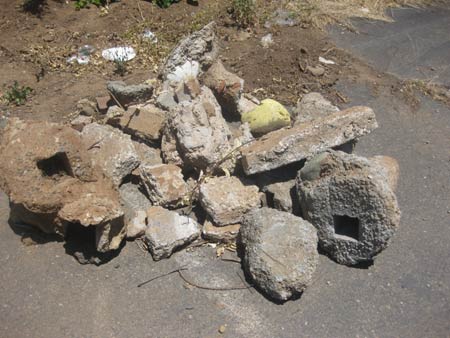
If the old cement work is in the way, you'll have to remove it. If it is out of the way and not ugly, you may want to just leave it in the ground. |
||||||||||||||||||
Planning Stretch a line of construction string from the beginning of the broken section to the end. You can use regular thin string or dental floss if you want, but construction string is nice because it is a really bright color and you can see it more easily from a distance. The string should be pulled tight and will reveal a perfectly straight path for the new fence construction. If you are re-using some existing post holes, decide if they are in acceptable alignment or if you want to work around them with new post holes. You definitely want a straight line of fence posts. If you screw it up and get a curved one, remind friends that a crooked one is actually stronger. Deciding on materials can be confusing. In most cases, the sturdiest, longest lasting materials are the least attractive and most expensive. |
||||||||||||||||||
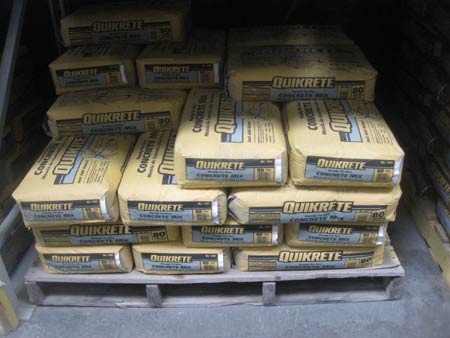
Shopping (2010 prices) Gravel
|
||||||||||||||||||
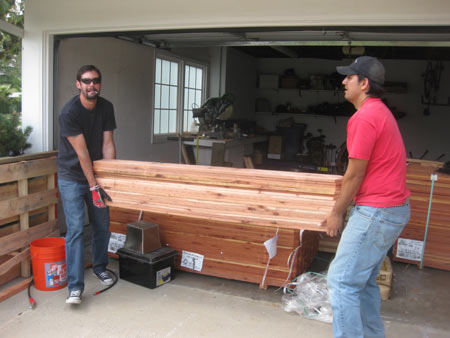
Boards (or pickets) And while you are shopping, make sure you've got gloves, a bubble level, eye protection and a dust mask (for pressure-treated wood).
I recommend using pressure treated wood for the posts and redwood for the rails and pickets. Pressure treated lumber is a bit more expensive, but should resist rotting about 4 times as long as redwood. |
||||||||||||||||||
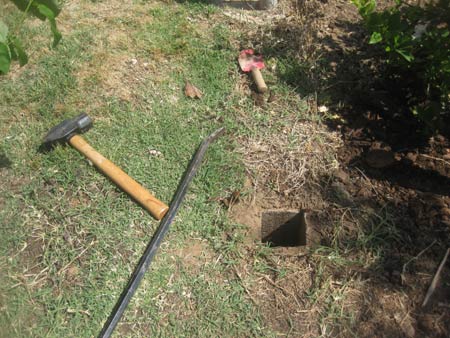
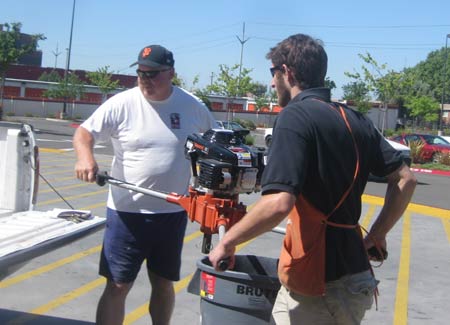
Digging If the dirt is rocky, rooty or super hard, or if you have many holes to make, consider renting a tool; the power auger. Digging holes with a power auger is still hard work. It takes two people and it's tough, and dangerous, but its a lot easier and more fun than digging 20 holes with a shovel. Cut roots if you can. |
||||||||||||||||||
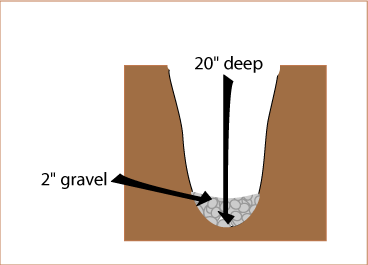
Gravel or Rocks Place a post into the hole right next to, but not touching the construction string. Don't twist it into the gravel so that it extends below the gravel layer. You want gravel to sit under the bottom of the post. If you are lucky, it may stand straight up on its own, but you should be prepared to nail some wood braces into the sides to keep it upright. Make sure the posts are plumb (straight up and down) by using a bubble level. |
||||||||||||||||||
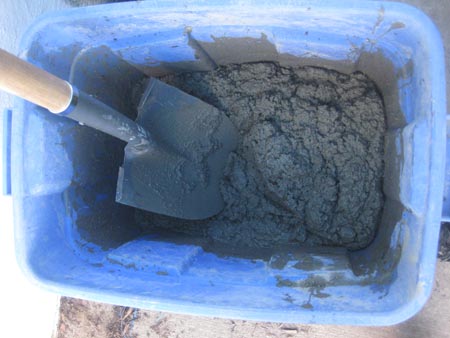
Concrete Wear gloves. Concrete is like liquid sandpaper. Wear eye protection. Don't wear nice clothes. Mix one bag at a time. One way to get started is to have one person rest half of the bag over the edge of the wheelbarrow and to have a second person stab into the bottom of the bag with a shovel. Spray about a gallon of water into the dusty mix and shovel it around to get all the concrete wet. This is not a pancake recipe. The amount of water needed is not precise. It should be all wet, chunky, not soupy. You may wish to use a tool shorter than a shovel to mix it. |
||||||||||||||||||
You have about 10 or 12 minutes to use all the concrete you have mixed. Use the shovel to fill the post hole around the post. Fill it to the top. Stab a stick gently into the top of the concrete in about ten places to release any air bubbles. Make the top of the pile angled slightly away from the post, so that rainwater tends to drain away from the post. When you are done with all of the cement work, you will probably want to quit for the day. Let the cement harden for 10 hours before you start nailing things to the posts. |
||||||||||||||||||
If you have any unused wet cement remaining, dump it into a cardboard box for easy disposal. Wash the wet cement off of your gloves, all your tools and off of the wheelbarrow. Actually, you'll probably want to wash your gloves last. |
||||||||||||||||||
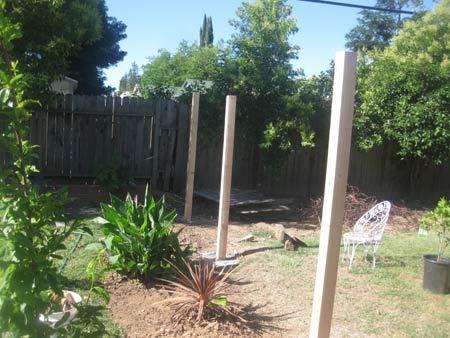
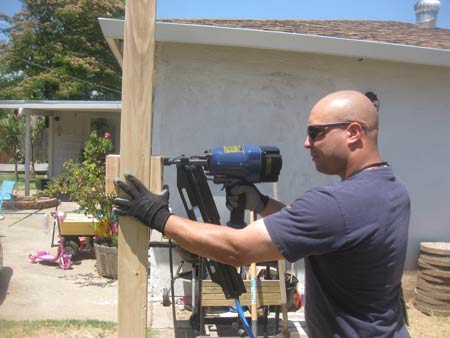
Posts If the fence is on flat land, cut the posts to an equal height. Use a circular saw. This will take two cuts which match up in the center and might be easier with a ladder. It is kind of fun to use a power tool right at eye level, but it is also dangerous due to the proximity to your neck. Perfect little pointy tops on the posts will drain water a little better, but they are harder to plan and cut, so most people cut them flat.
|
||||||||||||||||||
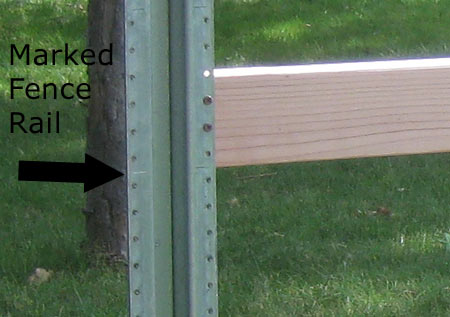
Using wooden stakes, string a level line from the first post to the last, marking how high you plan to attach the rails of your fence. A good height for the bottom rail is at 15" above the ground. A good height for the top rail is 60" above the ground. Add a string to mark a third rail if desired. |
||||||||||||||||||
If you are using a weed board, they will establish a level platform for all of the pickets. Make sure they are level, preferably all at the same level, but stair-stepped if neccessary. Invariably a little shovelling will be needed for this. |
||||||||||||||||||
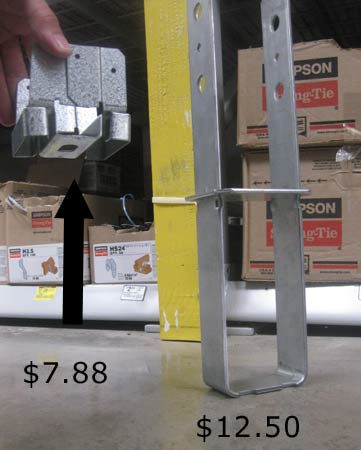
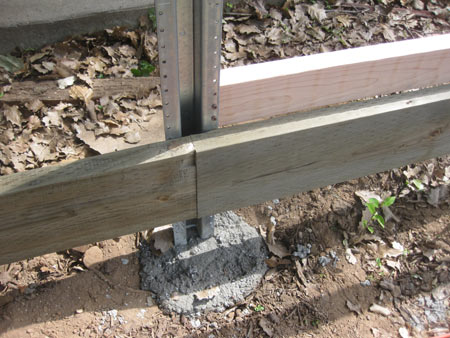
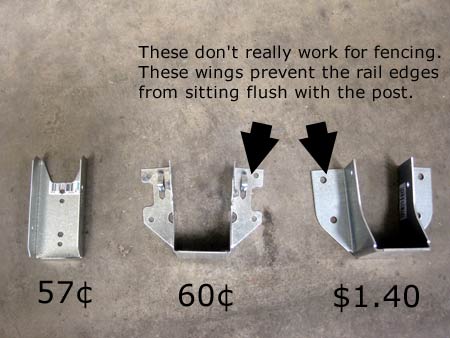
Rails or Stringers Small metal brackets are available for this (about 50 cents each), but they don't look any more durable than simple blocks of wood. You can also simply nail the rails into the posts with long nails driven diagonally (This is called toenailing). If you use a level horizontal string, the rails will be level, or you can level each rail individually.
|
||||||||||||||||||
If you are building a fence which is on a hill, you can either keep the rails level, creating a stair-step appearance or slope them down the hill, so that they stay a consistent distance from the ground. |
||||||||||||||||||
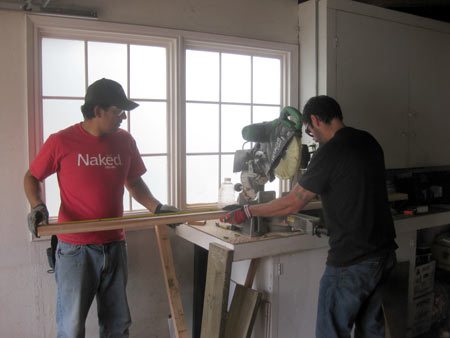
Carefully measure the distance between the posts and cut 2x4 rails to fit nicely between the posts.
|
||||||||||||||||||
Attach them with screws or nails. Use two or three nails or screws per connection point. If you use too many, the connection will be strong, but more susceptible to rot through all the nail holes and compromised wood strength. |
||||||||||||||||||
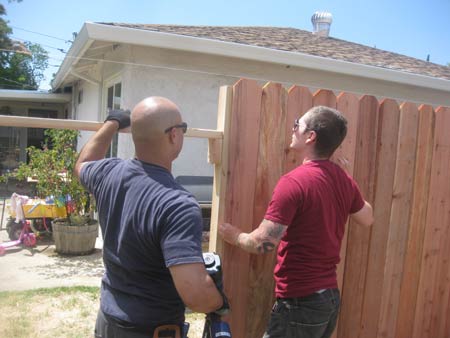
Pickets Pickets are the expensive part of a fence. They are only $2 each, but they are only about 6" wide, so it takes a ton of them to make a fence. You can use a hammer to nail them, use a cordless drill to screw them or use a nail gun and compressor. I recommend using a drill and screws if you have less than 50 pickets, otherwise rent a nail gun. |
||||||||||||||||||
Space the Pickets! I recommend spacing the pickets with a slight gap, using a nail or screw. You can also try just spacing them without a guide. If you are incredibly sexy, and need to block all peeping eyes you will have to add a second layer of pickets or battens. You can also set the pickets at an angle and have them overlap a bit (featherboards). Almost no fences are built this way, because the extra 4% of privacy will end up costing about about 20% more money. See Fifty Good and Bad Fence Ideas for fence designs which have greater privacy. |
||||||||||||||||||
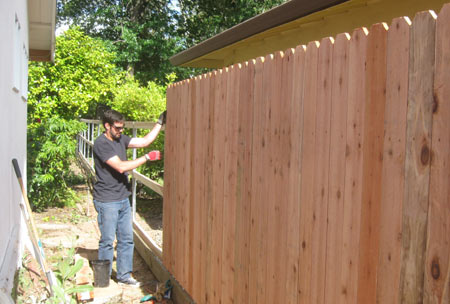
Periodically check to see if the pickets are still plumb (straight up and down). If they are a little bit out of plumb, gradually adjust the gaps on the next few boards to get them back to plumb. Its pretty hard to spot boards which aren't hanging perfectly straight, so I don't think you should remove any, just make adjustments so that you are progressing towards vertical.
It is a lot more fun to attach the pickets with a friend. Be sure to provide ample refreshments for your helpers. |
||||||||||||||||||
It is a monotonous job, but its the final step when the stressful decision making is behind you and the fence really starts looking like the end is near. |
||||||||||||||||||
Finishing a fence is tremendously satisfying. They are big and solid, and often fix a problem which has been slowly getting worse over many years. Have fun! |
||||||||||||||||||
Please continue reading page 2.
Part 1 | 2 - 50 Fence Ideas - How Fences Break - How to Fix a Gate